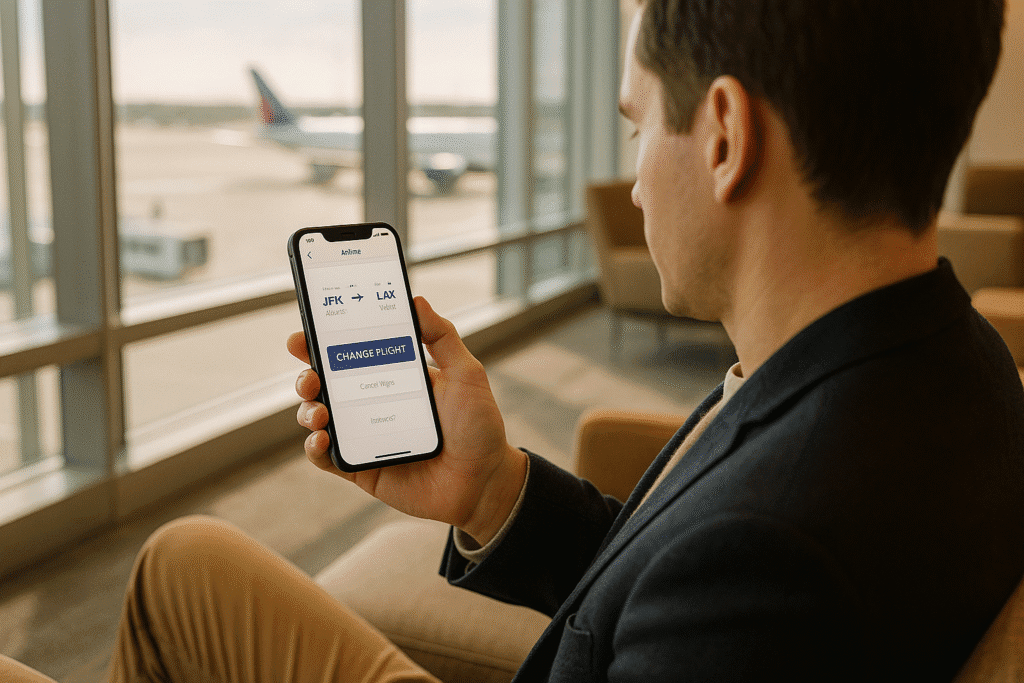
Changing flights is easier than ever with airline apps. No more long calls or airport lines – just a few taps on your phone. Here’s what you need to know:
- Steps to Change Flights: Open your airline’s app, find your booking (using your confirmation code or ticket number), select “Change Flight”, pick a new flight, and confirm any costs.
- Key Prep: Have your booking details, check your airline’s change policies, and ensure your app is updated to avoid glitches.
- Costs: Many airlines no longer charge change fees for standard tickets, but Basic Economy fares often have restrictions or fees.
- Tips: Act quickly for better options, use frequent flyer perks to save, and double-check your new itinerary and boarding pass.
Pro Tip: Apps update flight info faster than airport screens, so use them during disruptions to stay ahead.
Ready to make changes? Follow these steps to save time and avoid hassle.
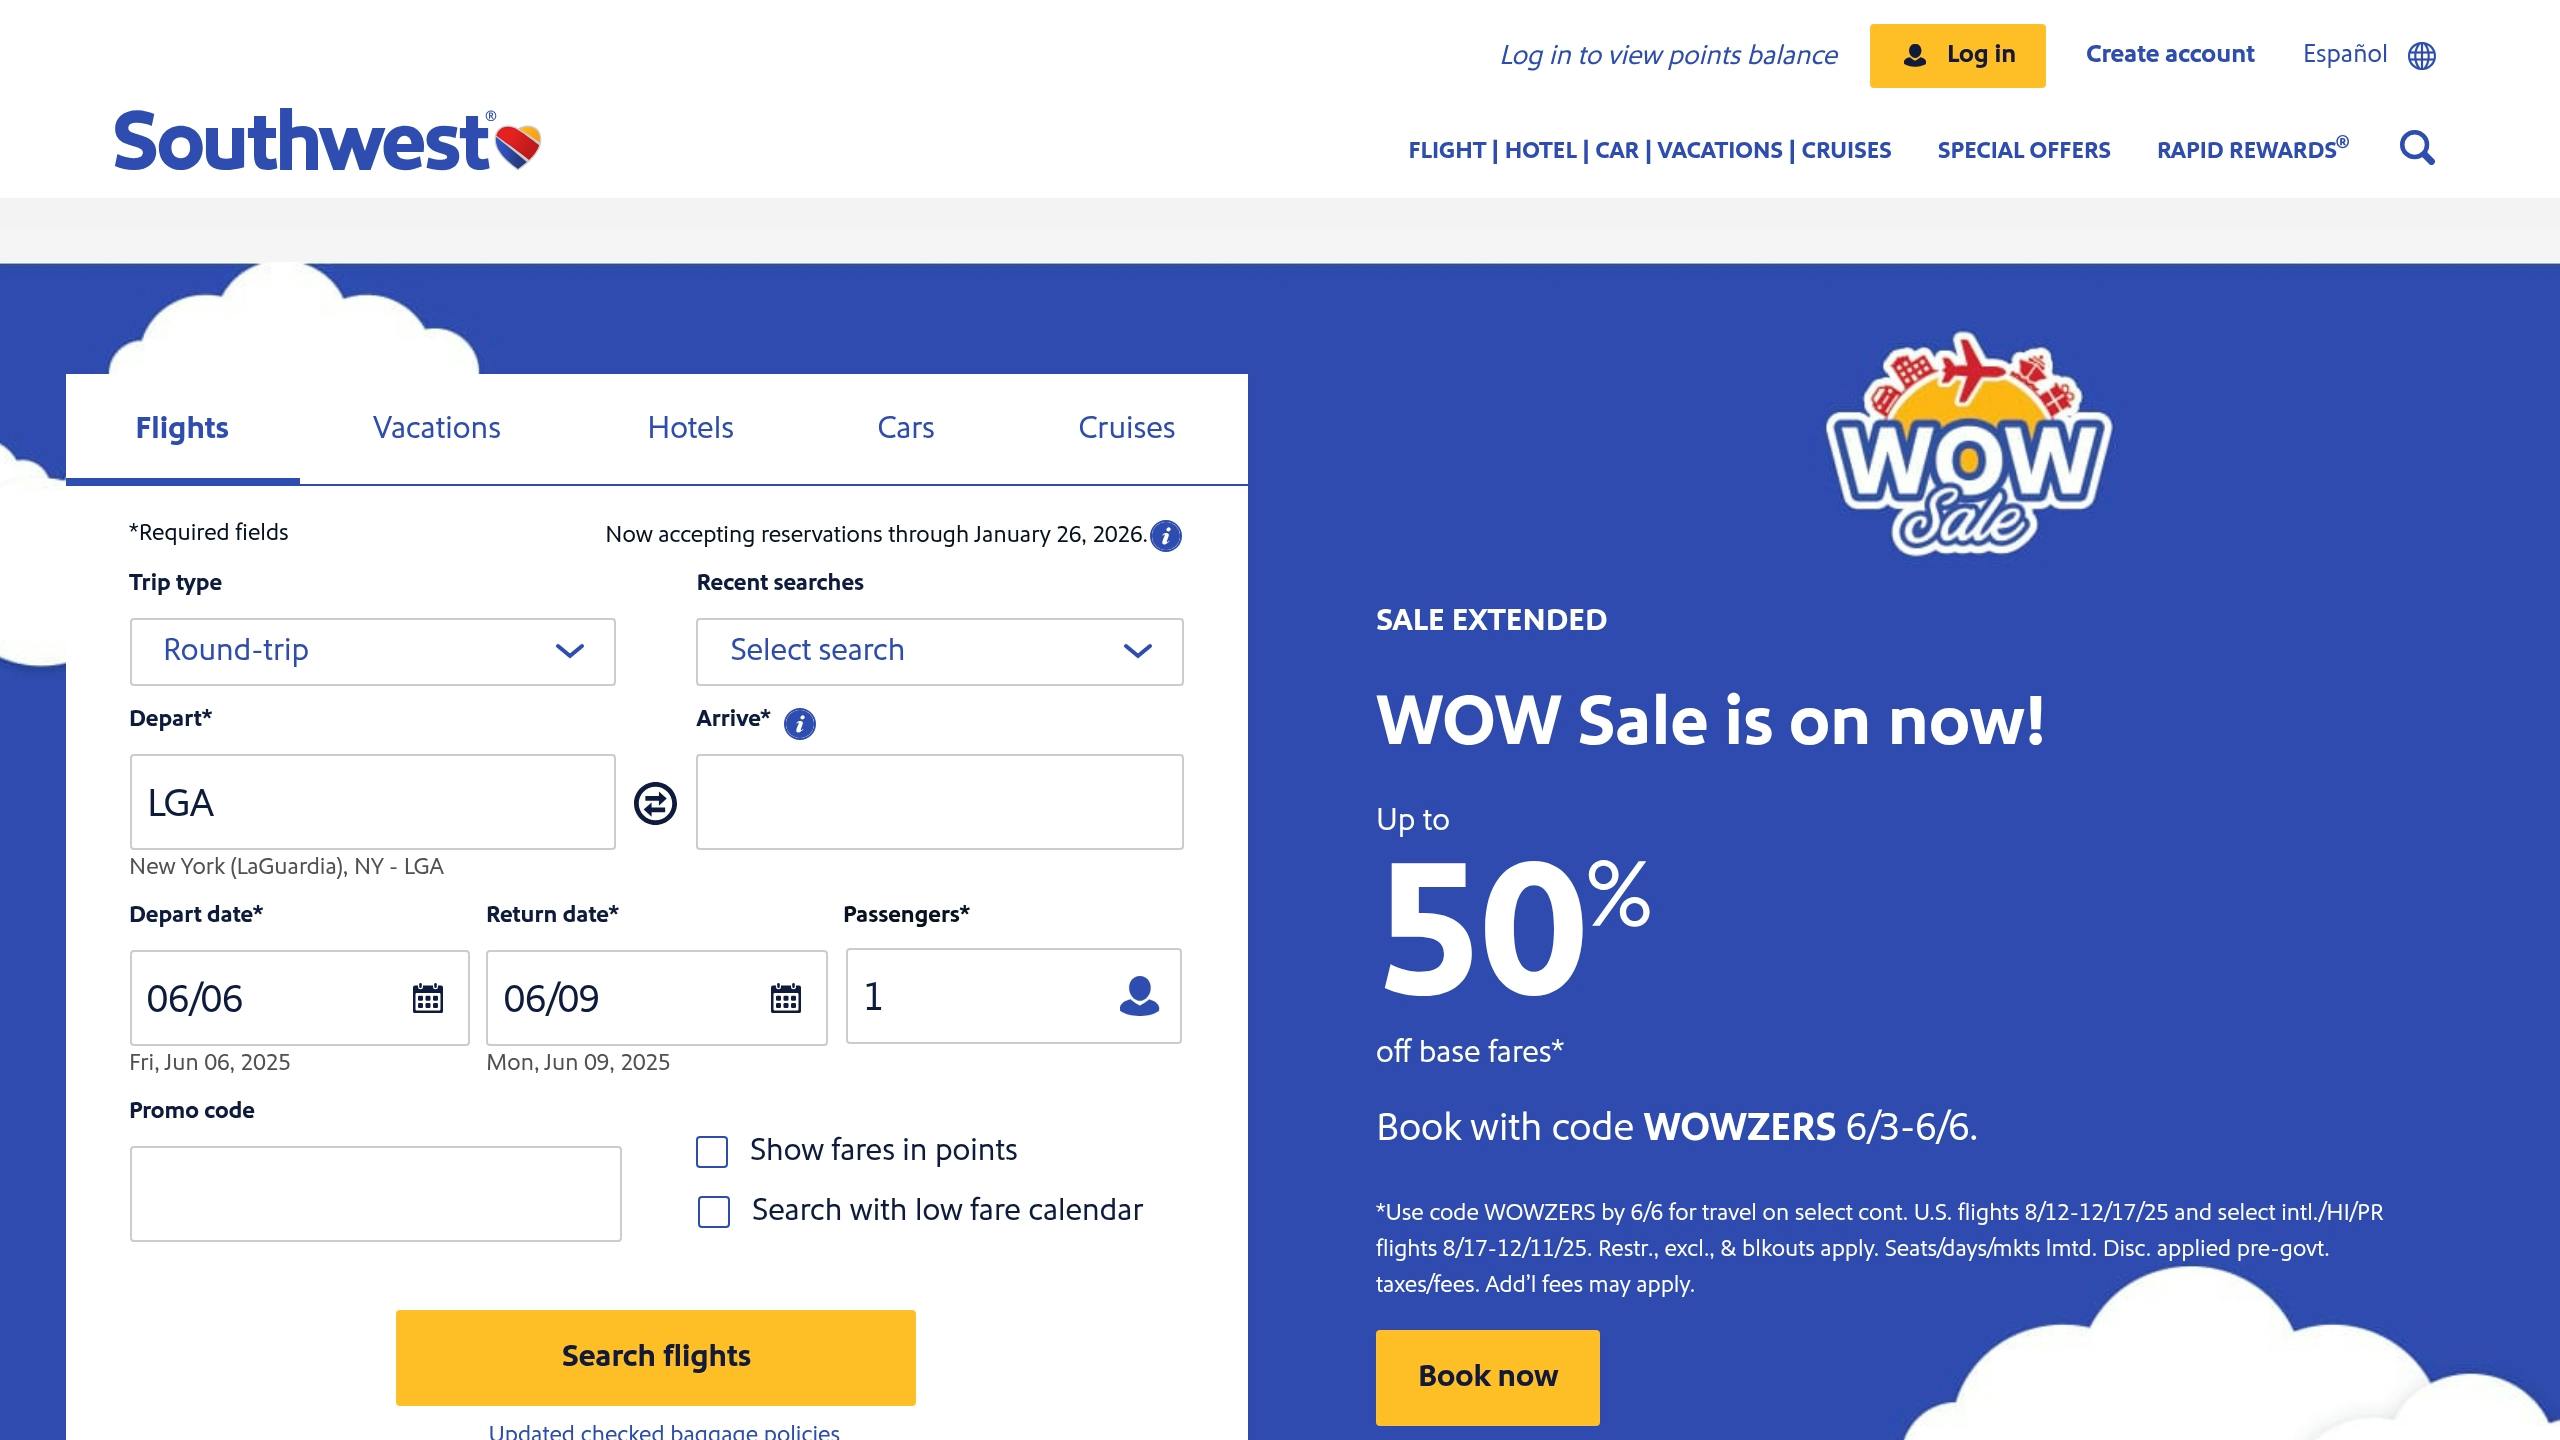
How To Change or Cancel A Southwest Airlines Flight
Before You Start Changing Your Flight
Getting everything in order before making changes to your flight can save you time and prevent unnecessary headaches. Having the right details on hand and understanding the airline’s policies are key to a smooth experience.
Collect Your Booking Details
The confirmation number – sometimes called a record locator – is the most crucial piece of information you’ll need. This alphanumeric code lets you access your booking and is typically found in your original confirmation email or receipt.
You’ll also need the exact names of the passengers as they appear on the tickets. This is especially important if you’re making changes for only some travelers in a group booking. For example, Delta Airlines allows you to retrieve your trip using your name and confirmation number, card details, or ticket number [1]. Hawaiian Airlines, on the other hand, requires either your confirmation code or ticket number along with your last name to locate your booking [2].
Additionally, keep your payment details ready in case the new flight costs more. If you run into issues with the confirmation code, your ticket number can often serve as a backup to access your reservation.
Review Your Airline’s Change Rules
Airline policies can differ widely depending on your ticket type, destination, and carrier. Knowing these rules in advance can help you avoid unexpected fees or restrictions.
Many major U.S. airlines have eliminated change fees for standard tickets, but Basic Economy fares are often an exception. These budget tickets usually come with strict limitations, such as no changes allowed or additional fees for modifications. To avoid surprises, check the specific rules for your ticket in your confirmation email or under the “Manage Booking” section on the airline’s website.
Basic Economy tickets are generally the most restrictive across airlines, so it’s worth double-checking the fare rules to see what’s allowed.
Update Your App
Make sure your airline’s app is up-to-date before you start.
Outdated apps can cause issues like missing flight options, payment processing errors, or outdated pricing. Features such as same-day flight changes or flexible rebooking during disruptions often require the latest app version to work properly.
Even if you think your app is current, it’s a good idea to check your phone’s app store for updates. Airlines frequently release updates, and automatic updates don’t always install right away. Once your app is fully updated, you’ll be ready to make the changes you need with minimal hassle.
How to Change Your Flight Using the Airline App
Changing your flight through an airline app is a fairly straightforward process, especially if you have your booking details and the airline’s policies handy. While the exact steps can differ slightly between carriers, most apps follow a similar structure.
Find Your Booking
Start by opening your airline’s app and navigating to sections like “My Trips” or “Manage Booking” – these are usually accessible right from the main screen. If you booked directly with the airline, your reservations should appear automatically. If not, you’ll need to input your 6-digit confirmation code to locate your booking [4].
For instance, United Airlines allows you to view your trips by signing into your MileagePlus account if the booking was made directly with them [4]. On the other hand, bookings made through third-party platforms will require you to manually enter the confirmation code [4].
Some apps go a step further in making things easier. Delta’s app, for example, includes a “Today” section that consolidates essential travel information such as your mobile boarding pass, flight status, and gate details [3]. This can be especially helpful if you’re dealing with last-minute changes.
Once you’ve located your booking, you’re ready to proceed with the modification process.
Select Change Flight Option
After finding your reservation, tap on the specific flight you want to change. You’ll see your current flight details and a selection of action buttons. Look for options like “Change Flight,” “Modify,” or “Edit Trip” and select the one that applies.
If your itinerary includes connecting flights or is a round-trip ticket, the app will likely ask you to specify which part of your journey you want to modify. Double-check your details to avoid accidentally changing the wrong segment of your trip.
Pick Your New Flight and Check Costs
When choosing a new flight, keep your ticket’s change rules in mind. The app will show you available options for your route, typically organized by departure time. Pay close attention to the pricing details displayed alongside each flight.
Delta Airlines explains, “If you change your ticket, sometimes your new flight costs more than your original flight. If this happens, you will need to pay the difference in price.” [5]
The app will clearly indicate any fare difference as you browse options. If the new flight costs less than your original one, you might receive a future travel credit. All cost details will be presented before you finalize the change [8].
While many airlines have done away with change fees for standard tickets, additional fees can still apply in certain cases. For example, Delta charges a $75 fee for same-day changes, though this is waived for Diamond, Platinum, and Gold Medallion Members, as well as for Extra and refundable tickets [6]. Similarly, JetBlue has a $75 fee for same-day changes on Blue, Blue Plus, and Mint fares [7].
Once you’ve selected your new flight and reviewed the associated costs, you can move on to finalizing your changes.
Complete Your Changes and Pay
After choosing your new flight, the app will take you to a checkout screen to confirm your changes [8]. This is your last opportunity to review all the details, including flight times, costs, and any applicable fees.
If there’s a fare difference, you’ll need to provide payment information to cover the additional amount. Once you confirm and complete the payment (if required), the app will immediately update your booking and provide a confirmation [5]. Be sure to save or screenshot this confirmation – it includes your updated flight details and a new confirmation number.
Keep in mind that your original boarding pass will no longer be valid. Before your travel day, access your new boarding pass through the app to ensure a smooth trip.
Tips for Easier Flight Changes
Building on the step-by-step guide above, these strategies can make changing flights through airline apps a smoother experience. Once you’re familiar with the basics of using the app, these tips can help you save time and money.
Change Flights as Soon as Possible
Timing is everything when it comes to flight changes. Acting quickly often means better options and lower costs. Airlines use yield management systems, which tend to increase prices as the departure date gets closer. Waiting until the last minute can make changes much more expensive [11].
For same-day changes, timing becomes even more critical. Airlines have different rules about their 24-hour windows. Some calculate the period from your new flight’s departure time, while others base it on your original flight’s departure time [10]. Knowing your airline’s specific policy can be the difference between securing your desired change or missing out.
Here’s a breakdown of same-day confirmed change fees for major U.S. airlines:
| Airline | Same-Day Change Fee | Route Coverage |
|---|---|---|
| Alaska Airlines | $25 | Shuttle flights within Alaska, Seattle-Portland, Seattle-Spokane |
| Alaska Airlines | $50 | All other flights |
| American Airlines | $60 | U.S., Puerto Rico, U.S. Virgin Islands, Canada, Caribbean |
| American Airlines | $150 | NYC (JFK) to London (LHR) |
| Delta Air Lines | $75 | U.S., Canada, Puerto Rico, U.S. Virgin Islands |
| JetBlue | $75 | Blue, Blue Plus, and Mint fares |
Frequent flyer benefits can also play a big role in making rebooking easier and less costly.
Use Your Frequent Flyer Benefits
If you’re a loyal traveler, your frequent flyer status can save you money and make rebooking faster. Many airlines waive change fees for elite members or provide special rebooking privileges not available to the general public.
For instance, Delta waives its $75 same-day change fee for Diamond, Platinum, and Gold Medallion Members, as well as for passengers with Extra or refundable tickets [6]. If you often need to adjust your travel plans, these savings can add up quickly.
Elite status also gives you access to priority rebooking during disruptions like cancellations or major delays. Airlines usually rebook their highest-tier members first, increasing your chances of getting on the next available flight.
To take full advantage of these perks, check your airline’s app for an elite member section or call their premium customer service line, which typically has shorter wait times compared to general customer service.
Get Help When the App Won’t Work
Airline apps aren’t perfect, and technical glitches or limited options can sometimes get in the way of rebooking. When that happens, try these backup strategies.
Start by troubleshooting: check your internet connection, clear the app cache, restart your device, or switch to a different browser [12]. If the app still doesn’t work, try using the airline’s website instead [12].
For persistent issues or complex itineraries, contacting the airline directly is often your best bet. Reach out through their customer service phone line or email [12][13]. Speaking with a live agent is especially helpful for international flights or multi-airline itineraries, where app options might be limited.
If you’re dealing with long wait times for customer service, consider using services like Flight Booking 247. Their travel concierges are available 24/7 and can often find rebooking solutions that aren’t visible through standard airline apps. This can be particularly useful for last-minute changes or intricate travel plans.
“When an airline changes your flight, it’s perhaps the single best opportunity you’ll have to get a better flight – better dates, better times, better routing, or if you no longer want the flight, a refund. And the best part? It’s free.” – Scott Keyes, Founder & Chief Flight Expert, Going.com [9]
Keep a close eye on your flight schedule as your departure date approaches. Airlines often make schedule adjustments, and significant changes – typically 3 hours for domestic flights or 6 hours for international flights – may qualify you for free rebooking or even a full refund [9]. These changes can sometimes work to your advantage, giving you a chance to improve your itinerary without paying extra fees.
After Making Your Changes
Once you’ve successfully updated your flight through the airline app, there’s still a bit more to do. Double-check everything to ensure a smooth experience at the airport.
Check Your New Flight Details
Start by reviewing your updated itinerary in the app. Head to the “My Trips” or “Manage Booking” section and confirm that the departure and arrival times, flight numbers, and terminal information match what you selected.
Most airlines will send you a confirmation email or text after any changes. These messages are important – they often include your new confirmation number and details about any ticket restrictions. If you don’t see a confirmation within 15–30 minutes, give it a few hours. If nothing arrives, contact customer service to ensure your changes were processed correctly.
Get Your New Boarding Pass
Once your itinerary is confirmed, make sure to update your boarding pass. In most cases, mobile boarding passes will refresh automatically, but it’s not always foolproof.
- For Android users: Open the airline app, display your boarding pass, and swipe down to refresh it.
- For iPhone users: The Apple Wallet boarding pass might not update reliably. You may need to delete and re-download it from the airline app.
If refreshing doesn’t work, try deleting the pass and generating a new one through the app. Keep an eye out for notifications about seat changes or upgrades, as these might require you to update your boarding pass. If the mobile pass still refuses to update or doesn’t scan properly at security, visit a check-in kiosk or ask a gate agent to print a physical boarding pass. For ongoing issues, contacting the airline’s customer service is your best bet.
Confirm Your Seat Selection
Flight changes can sometimes disrupt your original seat assignment, so it’s worth confirming where you’ll be sitting. Use the airline app to check your updated booking and see if your seat carried over to the new flight.
If your seat wasn’t transferred or you’re unhappy with the new assignment, view the seat map in the app to select an available option. Keep in mind that seats marked as “occupied” are already taken, so act quickly to grab an open spot.
Conclusion
Changing flights through airline apps can be straightforward if you’re well-prepared. Make sure you have your booking details handy, familiarize yourself with your airline’s change policies, and ensure your app is updated.
The general steps are similar for most airlines: locate your booking, select the change option, pick your new flight, and finalize the payment. Many airlines have eliminated change fees for standard tickets, making the process even smoother. Acting promptly and staying prepared can make all the difference.
If you encounter technical glitches or need help with more complicated changes, expert support is available. Flight Booking 247 offers round-the-clock assistance through its travel concierge service. Their live operators can help with flight changes, cancellations, or rebookings when the app process falls short or when you require a more personalized touch.
Once your itinerary is updated, double-check all the details. And if any issues persist, remember that Flight Booking 247‘s 24/7 concierge team is just a call away. Being prepared, acting quickly, and knowing where to turn for help are the keys to managing flight changes effectively.
FAQs
What can I do if I can’t find the option to change my flight in the airline app?
If you’re unable to find the option to change your flight in the airline’s app, start by double-checking a couple of things. First, make sure you’re logged into the correct account and that your booking details are accurate. Also, keep in mind that certain tickets, like basic economy fares, often don’t allow changes, which might explain why the option isn’t available.
If your ticket is eligible for changes but the option still doesn’t show up, here are a few troubleshooting steps you can try:
- Update the app: Check if you’re using the latest version of the airline’s app and update it if necessary.
- Clear app data: Go into your phone’s settings and clear the app’s cache or data to remove any temporary issues.
- Reinstall the app: Uninstall and then reinstall the app to fix potential bugs or glitches.
If none of these solutions work, it’s time to contact the airline’s customer service. They can either assist you with making the changes directly or guide you through the process.
How can I change a Basic Economy flight without paying extra fees?
Avoiding extra fees when changing a Basic Economy flight can be a bit of a challenge, but there are a few strategies that might help:
- Cancel within 24 hours: If your flight was booked at least two days before departure, you’re entitled to cancel it within 24 hours for a full refund. This is a great option if you act quickly.
- Upgrade your fare: Some airlines allow you to pay for an upgrade to a higher fare class, like Standard Economy, which typically offers more flexibility for changes. While this comes with an extra cost, it may save you from hefty change fees in the long run.
- Look for exceptions: Airlines sometimes provide flexible policies in specific situations, such as weather-related disruptions or travel waivers. These exceptions might let you make changes without incurring fees.
If you’re looking for help with booking, changes, or cancellations, a service like Flight Booking 247 could be worth considering. They offer around-the-clock support to simplify the process and make it more convenient.
What should I do if my updated boarding pass isn’t showing correctly in the airline app?
If your boarding pass isn’t showing up properly in the airline app, here are a few steps you can try to fix the issue:
- Restart the app: Close the app completely and open it again. This often helps refresh any glitches.
- Check your internet connection: Make sure you’re connected to a stable network for the app to function correctly.
- Clear the app cache or data: Go to your device’s settings, find the app, and clear its cache or data to remove any temporary errors.
- Re-add the boarding pass to your wallet: If you’ve saved the pass to your digital wallet, delete it and add it again.
- Update the app: Ensure you’re using the latest version of the app by checking for updates in your app store.
Still having trouble? Contact the airline’s customer service team. They can assist you with technical issues and ensure you have access to your boarding pass.